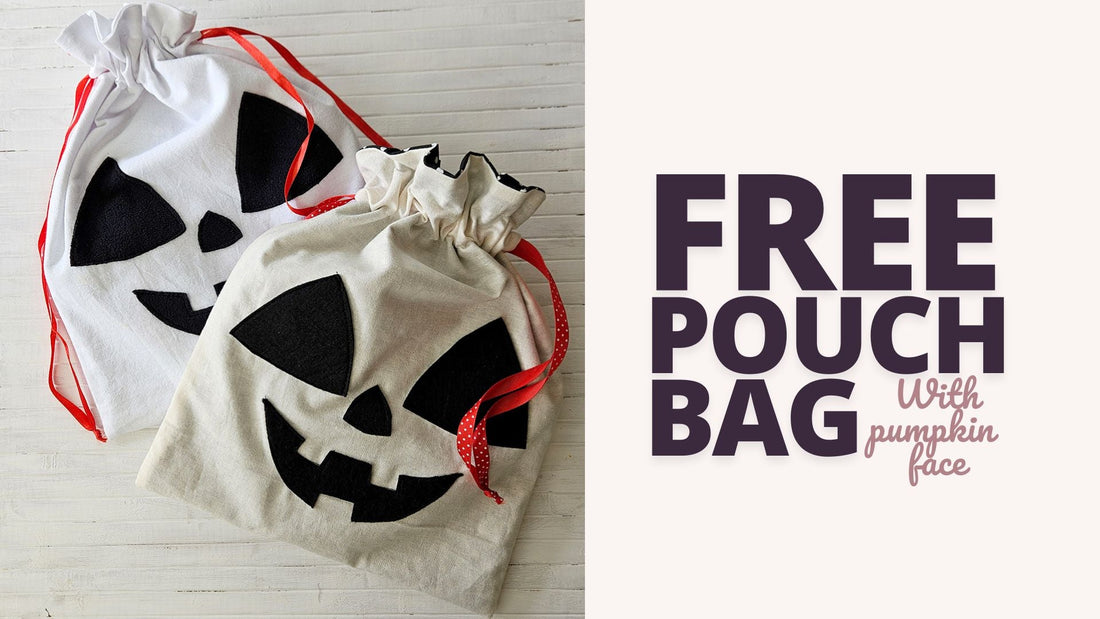
Free Lined Drawstring Pouch Bag with pumpkin face
Share
Hello, friends!
I've created a free pattern and tutorial for a fully lined Drawstring Pouch Bag with a charming pumpkin face. It's easy to sew with step-by-step instructions. Perfect for storing pumpkin dollhouses, Halloween goodies, or using as a treat bag on Halloween night.
This DIY project is simple for beginners and enjoyable for seasoned sewists. Plus, it’s quick to make using materials you already have at home.
Check out the process video on Instagram and find detailed instructions here.
Enjoy your handmade creation! Happy sewing!
How to Make Your Own Pumpkin Drawstring Pouch Bag
Sewing Level: Beginner
Finished size: 13" x 10" (33x26 cm)
What you'll need:
- FREE PATTER DOWNLOAD HERE
- Cotton fabric for the exterior 28x14 inches (70x35cm) open,
- Cotton fabric for the lining 28x14 inches (70x35cm) open,
- Felt for the pumpkin face, 8x8 inches (20x20cm),
- 2x Ribbon for the drawstrings 26x0.4 inches (65x1cm),
- Safety pin
- Basic sewing supplies (Sewing machine and needles for machine,
Thread to match fabrics, Dressmaker’s scissors, Pins,
Disappearing ink marker heat sensitive, Chalk, Iron)
The seam allowance is ¼” (0.7 cm) and is already included in the pattern, so cut exactly on the line.
For the Pumpkin Dollhouse Pouch Bag, I recommend using medium-weight cotton fabric. You can also use scraps and leftovers. For the lining, opt for lightweight cotton or woven fabrics. For the pumpkin face, use 1mm felt—wool or wool blend are ideal.
Gather all the necessary materials and tools before starting your project. Read through the instructions, and you’re ready to begin. Enjoy the process—I hope you love it!

Print all pattern pieces at 100% scale. Cut them out and sort into three sections: base, lining, and appliqué. Since the pattern is too large for one A4 sheet, tape the pieces together. Remember to snip the notches marked on the pattern.
Cut out the pumpkin face from the pattern so you can trace it onto the material later.

Fold your main and lining fabrics in half with the right sides together. Using a disappearing ink marker, trace the sewing pattern pieces on the wrong side of the folded fabric. If you make a mistake, just give it a quick press with an iron to erase the ink. Cut out the pieces for the base material, lining, and the pumpkin face appliqué. Each piece of the sewing pattern will tell you how many pieces you need to cut.

Trace of the pumpkin face on the right side of the fabric according to the pattern. Place the appliqué on those spots. Pin it and sew as close to the edge as possible. Since felt doesn’t fray, you can stitch near the edge. Use a longer stitch setting (3+) with thread that matches the felt color.
 Fold the base material with the pumpkin face inside and sew, using a 1/4" (0.7cm) seam allowance. Leave an opening between the notches and backstitch at the beginning and end. Press the seams open, leaving the top straight edge free.
Turn bag right side out and pull out the corners.


Turn the bag right side out through the opening in the lining. Tuck the ends of the opening inside and topstitch to close it. This will seal the opening used for turning. Push the lining into the bag. Adjust the edges of the bag with your hands.

Next, sew the casing for the drawstring.
Using the pattern as a guide, mark where the casing will be sewn. Use a disappearing ink pen to draw the stitching lines above and below the opening. Once both lines are clearly marked, sew around the bag. Topstitch with the machine’s longer stitch setting (3+) using thread that matches the fabric color.
When the casing is sewn, press the bag with an iron before inserting the drawstrings.


